We are moving!!! Same Fun, Crafts, and Recipes, but a new and official web address! Come check out what is new at...


FunOnaDime.net


See you there!
Showing posts with label Outdoor Fun. Show all posts

Ice Breaker Experiment


{**GiVeAwAy** $40 CSN Stores Gift Card - Leave a comment}

~~~~~~~~~~~~~~~~~~~~~~~~~~~~~~~~~~~~~~~~~~~~~~~~~~~~~~~~~~~~~~~


This project originally started out with a science experiment that I thought would be a little difficult for my kids to understand. Did  you know salt water does not freeze? The suggestion for the experiment was to freeze regular water in half of an ice cube tray and in the other half freeze salt water. After a couple of hours when you pull the ice out, you would see that the regular water melts and the ice water does not melt. So, I came up with this variation for the kids to play around with....


What You Need:
  • Salt
  • Water
  • Little bowls or plates
  • Mini toys or small objects
  • Container - size depends on how big you want your block of ice to be
  • Ice cubes
  • Optional: random tools or kitchen gadgets

Directions:

Step 1: Make a large ice block in a large container (mine was not huge, just a storage container). i filled it with cold water and mini toys and/or objects (mini Lego men, pen top, crayon, a glow in the dark snake, money - some sink, some float, just stuff that is on hand!). I added lots of ice to speed up the process and then put it in the freezer. The ice helped keep the toys separated and at various levels and it froze in just over 1.5 hours. 

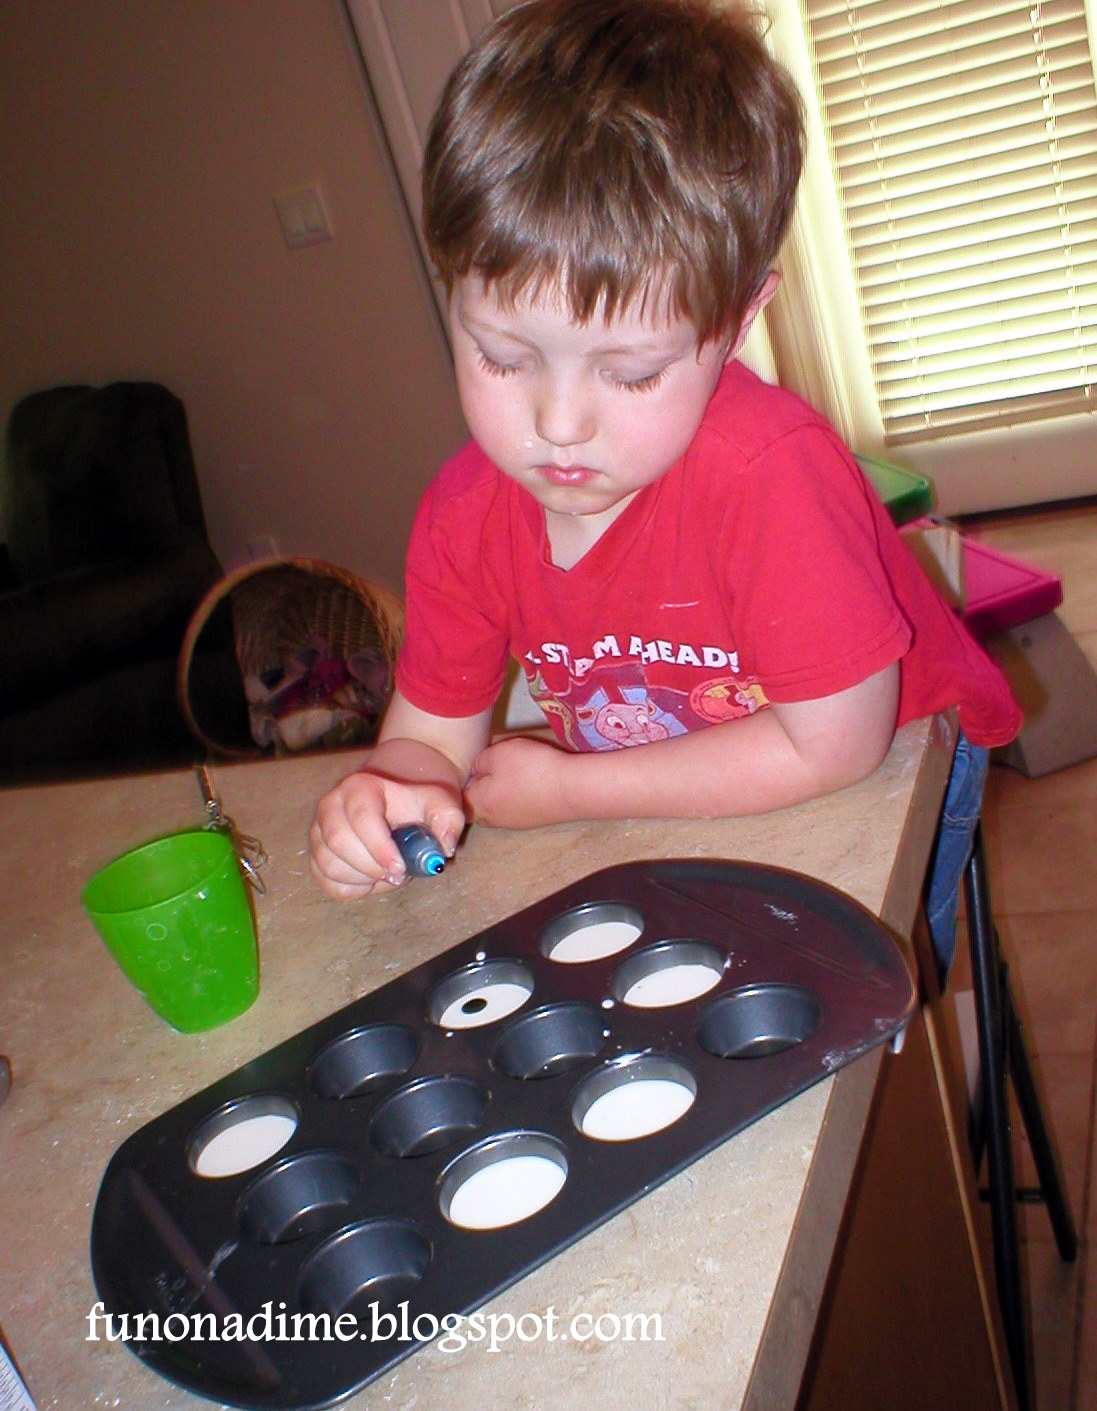
Step 2: I started out giving a small bowl with a piece of ice to each child. Then I gave them some sugar to sprinkle on the ice to see what happens


Step 3: Then I gave them some salt. Wit the salt the ice starts melting quickly. We talked about what they saw and made sure they all noticed the ice melting quickly.


Step 4: After experimenting, I pulled out the big block of ice that I created and put it on the table in front of them. They saw their toys and the money and got really concerned and wanted to get them out! So, I had them tell me what they could do to get them out.


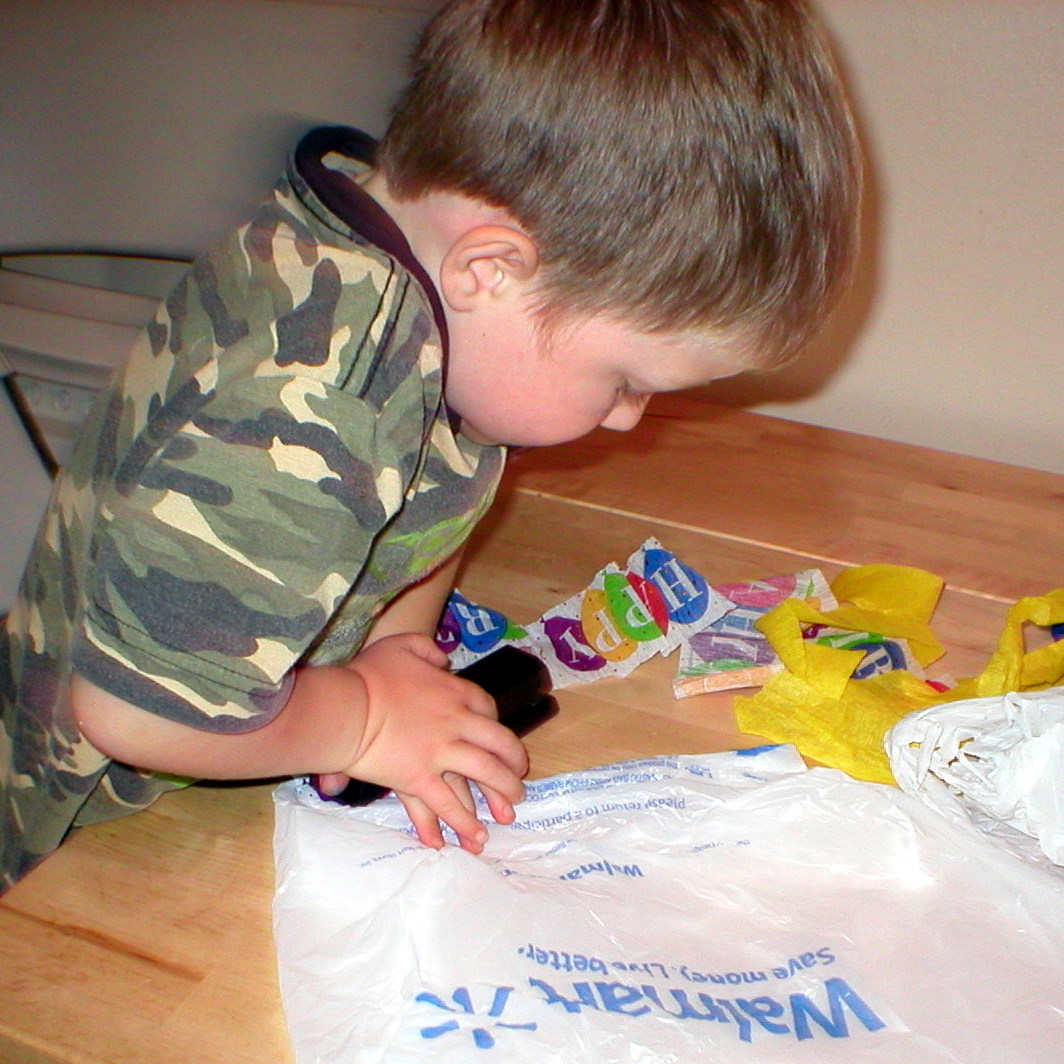
They tried knives...


Then they decided that forks might be better. I had to give each of them a turn to chip away at it because they were getting a little scary. They really enjoyed this part a little too much!


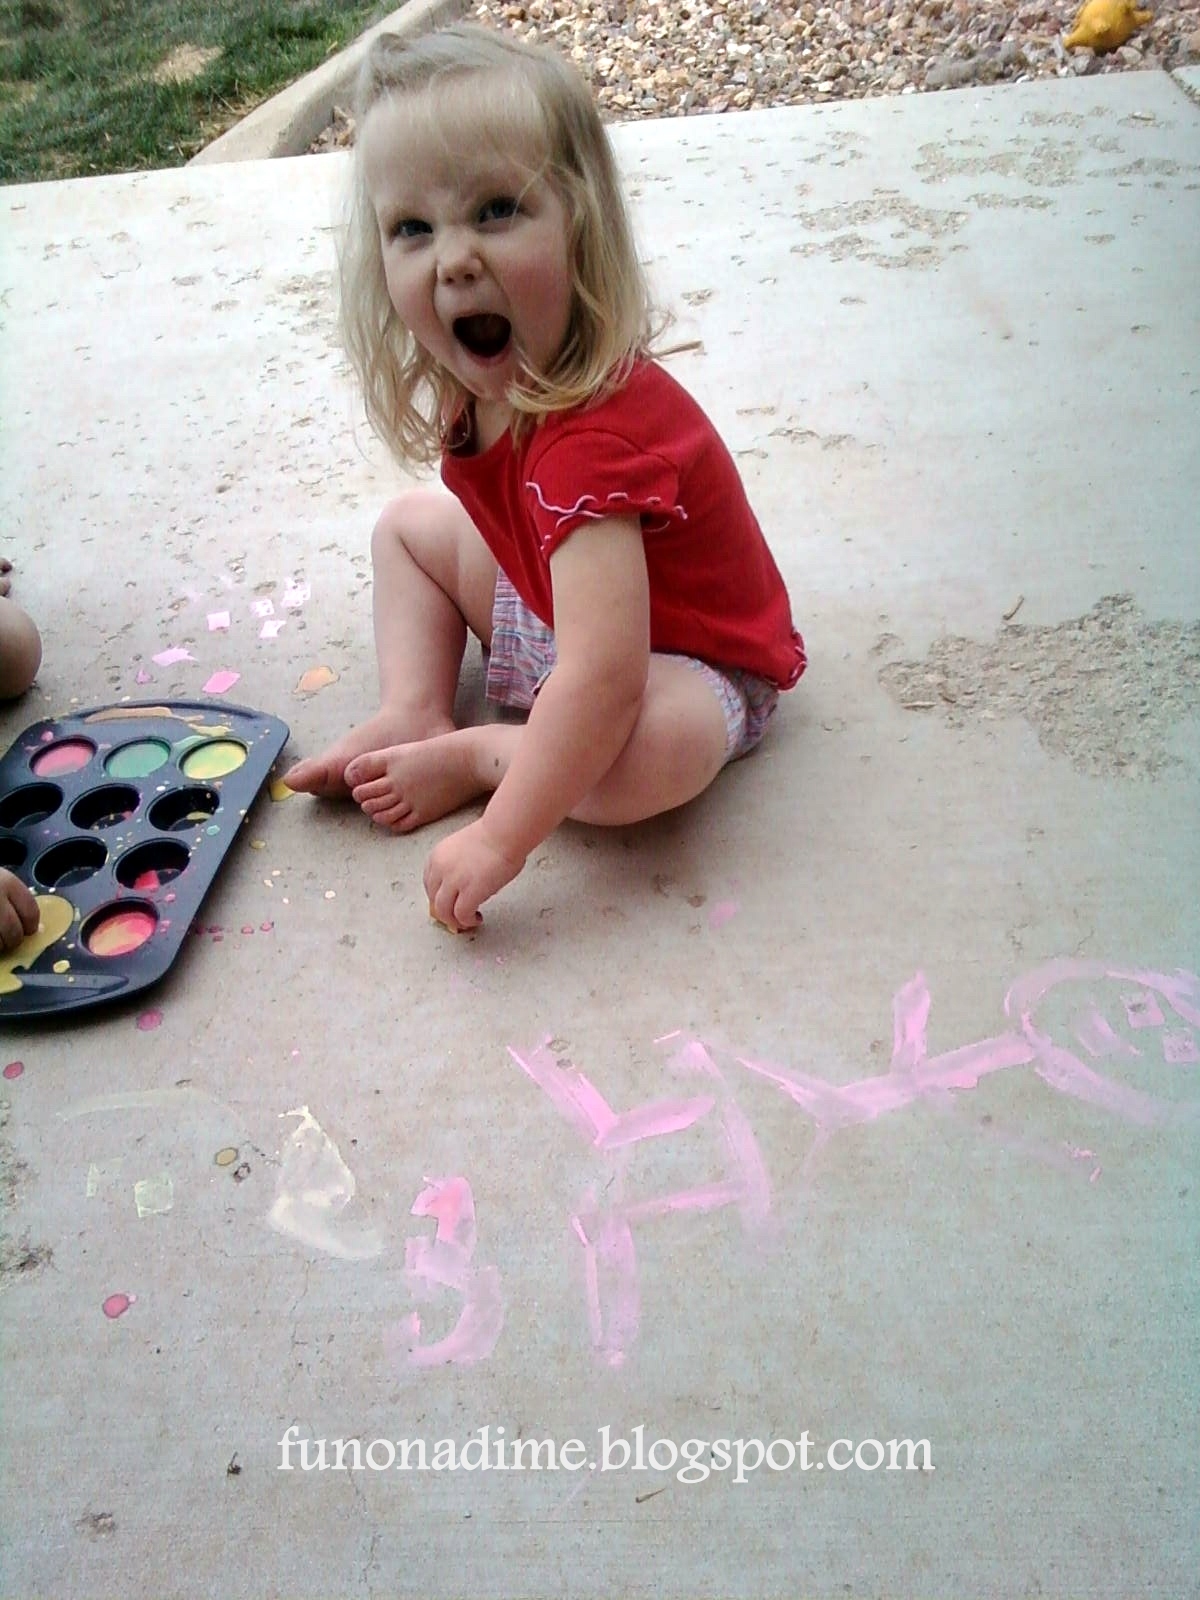
I reminded them of the little ice cubes and then they asked for the salt.

They each got a turn to sprinkle (and they wanted to keep stabbing it with the forks, too.)


It was a slow process, but they had a lot of fun. Once it started melting, it really started shrinking.


Next time I am going to make a really huge block of ice or make multiple ones of the one above and let the kids at them in the backyard. The 20-30 minutes we spent on breaking up this ice block was not enough for them!

It was fun for all who watched and participated!

This is the underside once we were able to flip it over.

ENJOY!!


Oh, and check out here to get a code for a Free Month Membership to Readeo.com


Storytime Online


How To Make Great Tinfoil Dinners

My heart has been aching for the Sullenger Family during this hard time. It has been reminding me to cherish each moment.

~~~~~~~~~~~~~~~~~~~~~~~~~~~~~~~~~~~~~~~~~~~~~~~~~~~~~~~


We have been having a lot of fun lately experimenting with tinfoil dinners and trying all sorts of variations. They are so easy to put together and pretty much anything tastes great once cooked. Here are a few of our favorites:


The Basic

The basic tinfoil dinner is fool proof and is a great starter for any tinfoil meal. You can pretty much add anything and it will taste great! This is my husband's favorite.


What You Need:
  • 1 serving meat
  • 2 cups veggies
  • Salt
  • Pepper
  • Oil
  • (Optional) Some sort of sauce: Creme of chicken/mushroom, BBQ sauce, or just a bit of Oil (we like Olive Oil) or anything else you want to try

Directions:

Step 1: Cut a piece of tinfoil about 15 -18 inches long. Lay it out shiny side up. If the shiny side is down, it will NOT cook- the shiny side will reflect the heat away.

Step 2: Spray or spread a little oil on the tinfoil. Add your meat and veggies. Salt and pepper to taste.

Step 3: Wrap up the tinfoil by pinching the two long edges together and rolling down and then rolling the ends together in.

Step 4: Wrap with second piece of tinfoil (shiny side up!)


Cajun Rice

This one is soooo yummy! I was pleasantly surprised!


What You Need:
  • 1 cup cooked rice
  • 1 cup black beans
  • 1/2 cup salsa
  • 1 serving meat - Sausage or polish hot dog are great!

Directions:

Step 1: Spray or spread a little oil on a 15-18 inch piece of tinfoil (shiny side up).

Step 2:  Place the rice on the tinfoil and create a little "nest" with a hole in the middle.

Step 3: Add cut up meat.

Step 4: Separately ix salsa and black beans together and pour on top of meat.

Step 5: Wrap the tinfoil up and re wrap a second time. Cook for 10 - 20 minutes until heated.


Chicken Stir-fry

This is also a really good meal and it has more veggies which make it feel healthier!


What You Need:
  • 3/4-1 cup cooked cups rice
  • 4 T Teriyaki Sauce (or Soy Sauce)
  • 4 T water
  • 1 T sugar
  • about 1/4 tsp garlic powder
  • about 1/4 tsp pepper
  • 1 - 1 1/2 cups  vegetables
  • 1 serving bite sized pieces of chicken
  • Tinfoil
  • Large plastic container or 1 gallon sealable bag

Directions:

Step 1: Prepare 2 cut pieces of tinfoil (shiny side up!). Add spray or spread the top one with oil. You will want the 2nd one ready to go once you fold the 1st one up at the end of the recipe. Have your container or sealable bag nearby, as well.

Step 2: Combine Teriyaki sauce, water sugar, garlic powder and 1/4 tsp pepper in a separate bowl and marinade the chicken for 10-15 minutes. Chicken can be raw or cooked (leftovers work great!)

Step 3: Add cooked rice and form a nest.

Step 4: Remove chicken from marinade and add the chicken inside the "nest". It helps if you cook the chicken a little until it is just a little pink, if it is not already, prior to adding it to the rice. It will cook faster this way. Put the marinade to the side for a minute.


Step 5: Add vegetables. I used 1 cup frozen and 1/2 cup zucchini.


Step 6: Fold 2 of the sides up, leaving the 3rd side open. Try to fold the second piece around the first on 2 sides as much as possible leaving the same side open. Pour the leftover marinade inside and wrap up. It will most likely leak, so place it in the sealable bag or container if you are preparing these ahead of time.


Helpful Tips:
  • It helps cook the dinner faster if you cook the meat and potatoes a little before adding to tinfoil.
  • Softer/more sensitive vegetables like green peppers, peas, etc. place in the middle of the meal (not near the tinfoil) to prevent burning
  • If you have the long 18 inch heavy duty tinfoil, it will be a lot easier. But I have used the smaller and very weak kind and it worked fine. I had to wrap one or two meals a 3 times, but the food still turned out great!
  • Prevent the potatoes from burning by covering them in a little oil. The easiest way to do this is to put them in a container with a little oil and shake them up.  
I remove them from the excess oil before adding them to the rest of the meal on the tinfoil.
 
 
Enjoy!!!


How To Make A Kite - The Easy Way

(Don't forget to send in your Summer Fun Challenge entries.
It doesn't take long and it is a bunch of fun! And remember, it can be super simple. Just do something with "sticks" and then follow the entry instructions here.)


This is not your typical kite, but it is simple to make. My kids had fun making it and playing with it. It was a kite they could actually fly on their own and it did not matter if they lost it or broke it. They loved it!

Here's what you need:
  • Plastic grocery sack
  • String, yarn or ribbon
  • Paper streamers
  • Stapler

Directions:

Step 1: Cut strips of paper streamers and staple them to the bottom of the plastic grocery sack.


Add as many as you like!


Step 2:  Cut some string and tie your string of choice around the sack handles. I used yarn at first and eventually found some ribbon. You will have to play with the length, but I think around 3 to 4 feet works nice for younger children because they can then get it up in the air easier. The longer length, it seemed, had them dragging it more (see video below - which shows them with the longer length).


Step 3: Go outside and have some fun running around!


Here is a quick video demo of the project... sometimes pictures are just not enough! This is my first video tutorial, so let me know if it helps.


Enjoy!

Chalk Paint


Chalk art is fun, especially outside on a nice day! While at the store I saw some liquid chalk and thought, "I wonder if I can make that at home?" The answer..."Yes, I can!" In fact, can you guess what it is made from? Cornstarch! I am going to stock up on a few boxes of this stuff for some summer fun. There is so much you can do with cornstarch!


What You Need:
  • Cornstarch
  • Water
  • Food coloring
  • Container(s) - cupcake tin, mini cups, etc
  • Paintbrush or mini sponges

Directions:

This is super easy! The basic recipe is 1 part water and 1 part cornstarch. Combine and mix together.

(We used 1/2 cups cornstarch and 1/2 cups water)


Disperse mixture into mini cups (if you mixed everything together in a bowl). Add food coloring. We added 2 drops per mini cupcake tin/slot (Blue seems to leave a slight hue...it looks like it will easily fade, so avoid or dilute if you do not want it)


Mix the colors in.

Lots of fun colors!


Give them the rules..."no painting on the house, the dog, or mixing it in the dog food"...or something like that. Put the chalk paint outside and give them their paint brushes and let them get creative!

We used sponge wedges for their art work.


It looks just like chalk when it dries and it comes off easily, too!


Additional Fun:

We discovered that when we got to the last of our chalk paint and there is not much water left, that we get Monster Goo! The kids had fun creating mini colorful balls...a very fun unexpected surprise!

It looks wet, but it is a lot thicker than it looks!


This had to be one of my favorite parts of playing with this paint... My son decided that it would be more fun to paint his body than the ground. He kept saying "My dad is going to Lll-uh-ve me all painted" and then he tried to paint me again saying, "Daddy is going to Lll-uh-ve you!" He was so proud of his body art that he did not want to wash it off later!


Have fun!

I'm linking this to:


Bird Feeders - One Way to Recycle Your Plastic Containers


You know you go through all sorts of plastic containers. Put aside a couple of them and make some bird feeders with your children. They were a lot easier to make than I thought and it is a lot of fun to watch the birds outside your windows. It is a real conversation starter with my children! I will note that I cannot take credit for coming up with the idea for making these...it was all my husband!


What You Need:
  • Clean plastic container including the lids (milk, juice, applesauce, etc.)
  • Wire hanger (one hanger can be used for 2 bird feeders)
  • Wooden dowel (we bought one from the store and cut it down into 3 pieces)
  • Bird Seed
  • Knife or sharp scissors
  • Basic tools, pliers and hammer (we mainly used a Leatherman)
  • Nail
  • Bird Seed 


Directions:

First, cut a holes in the side of the container big enough for a bird to get in and low enough that the bird can get the seeds inside (about 1.5 - 2 inches from the bottom - make sure there is room for the dowel to go through the plastic underneath the hole). You can add another hole on the other side for variety.


Next, cut a small slit in the plastic about 1/2 inch below the hole that was just cut. Make another one on the other side and then push the dowel through the 2 slits.

The OJ container has 2 holes in it.


Now, you are almost done. All you have to do now is poke 2 holes into the lid with the nail (using the hammer).

This is the lid for the applesauce container.


Cut the wire hanger in half. I actually learned that my Leatherman can do this! Just open it to the pliers and then place the wire inside the pliers as close as you can get to your hands and there is the wire cutter (I hope that made sense and I'm sure there is a better way to describe that). 


Fold the wire in half and insert it through the holes in the lid so the bend is on the top of the lid. Then twist the wire a couple of times under the lid. Make sure you leave some wire on top so you can hang the feeder where you want. We discovered that there is a bar in our rain gutter so we looped the wire around it and then inserted it into the lid and twisted the wire under the lid so that the bird feed will have a secure hold outside.


Then screw the lid onto the container. (You may have to cut the wire under the lid a little shorter if it is too long inside the container). Now, the bird feeder is ready to be hung outside.

We added 2 dowels and only 1 hole for the applesauce container.


You can hang your feeder outside from a hook, nail, tree limb, rain gutter, etc. We chose to hang our bird feeders near a window so we could see the birds. 

Don't forget to add some bird seed!


Updated:

Here are the pictures I promised of the bird feeders from outside...


We also attached one to the back fence!


Have fun!

Win Some Fun By Having Some Fun

Last week we got a ton of snow and had a blast building a snowman in the backyard. My son has been wanting to build one all winter and is very proud of our work.  It has dog bowls for eyes, a few handfuls of carrots for a nose, a scarf and a tutu for hair. My husband thinks it looks like an owl!


With all the fun we had, I got an idea...I wasn't going to do a giveaway so soon, but it is just too much fun of an idea to pass up! The Idea?

I want to see your snowman!!


So let's get on with the details...

Go out and have some fun with your family and make a snowman. For those of you in the warmer regions or areas who don't get much snow, get creative!  To make sure you have enough time to get out,  I am giving you a few weekends (until Feb 16). The idea is to have fun. Let's see what you come up with!


For this GIVEAWAY you get to choose between:

Melissa & Doug Shape, Model and Mold


Includes five easy-grip, wooden stamping cubes, three rolling pins, four modeling dough tubs with molding lids and a patterend wheel press. Perfect for creative play. Great for Hours of fun. Enrich a child's imagination. Exceptional quality and value.


OR 


A Child Size Apron


 Made by ME! A reversible apron that will make cooking and crafting just that much more fun. Choose from a variety of fabric that I have available.


To Enter: First, go out and have some fun building a snowman with your family. You don't even have to go outside if you don't want to, or can't, or don't have any snow...Get creative! when you are done send me a picture of the final results of your snowman or your version of a snowman to funonadime@gmail.com and put snowman in the subject line. Remember, the idea is to have fun!!
(examples of things you can do: tie pillows around someone and dress them up to be a snowman or use black construction paper, glue and coconut/marshmallows to make a snowman. The sky is the limit!)

And

Second, Follow Fun On A Dime publicly via Google Friend Connect, over on the right side of the page.


** You must do both of these 2 things above to be entered into the Giveaway

For One Additional Entry: Make a post about this Giveaway on your blog and make sure you leave a link on the form to the specific entry on your blog. If you do not have a blog, then leave a comment on your facebook and let me know you have done so.


Fill out the form below for each entry: (i.e. If you send me a picture, fill out the form for one entry telling me you have done so, etc). Also, with the snowman entry, please let me know which item you would choose if you win.


This Giveaway will be open until February 16th @ 11:59 p.m. EDT This giveaway is open to USA only. The winner will be contacted by email and will have 48 hours to respond. If winner does not respond within 48 hours of being contacted, a new winner will be chosen.


HAVE FUN!!!!

Paper Airplanes

For this activity we invited some friends over to join in on the fun. It made me laugh to find out that they were just as excited as my kids were to make some paper airplanes! It's great for all ages. We did it with a handful of children ages 2-4.

*On a side note: My mom called me to let me know that my 13 yr old sister, who thought this was kind of lame and for little kids, ended up playing with these paper airplanes for 3 hours Friday night with 3 of her friends and had a blast! They ended up naming them and having all sorts of competitions. I guess this really is for all ages! It is seriously a great flying plane!

Supplies Needed:

  1. Paper
  2. Tape
  3. Crayons (optional)

First, we had to add a little color before we started folding. Notice how the boys were all about getting it done as fast as possible. The girls were a little more detailed oriented when it came to coloring!


Once that is done, the folding begins. Each step has a number next to the picture to make it a little easier to follow. I also colored the back side of the paper green, so you can tell which side is which while we are folding.

Let's begin:


Step 1: Lay paper on a flat surface.
Step 2: Fold the paper length wise in half.
Step 3: Open the paper up again. Take one corner and fold it in towards the center line.
Step 4: Do the same to the opposite corner.

Step 5: Flip the paper over.
Step 6: Pull the new corner, just created in and in line with the center line
Step 7: Do the same to the opposite corner
Step 8: This is what it should look like right now when it is folded in half.

Now this next part is a little tricky, so much sure you follow the pictures
Step 9.1: I put 2 red dots on the paper. See them? On the next fold, you will bring the red dots together by bringing the edge on the bottom up. Basically folding it in half on the one side.
Step 9.2: I guess to make it easier on me I flipped it around and I didn't notice it until now. Sorry! This picture is folding the edge (that was previously pictured iin 9.1 on the bottom) to line up with the opposite edge
Step 10: Flip the plane over and do the same to the other side

Step 11: This is what your plane should look like from the side when your hand is holding the fold. Now you want to put a little piece of tape on the bottom going over the fold . Somewhere near my thumb is fine.
Step 12: You also want to put a piece of tap on the top holding the two sides together. About where the red line is.


And now you can have some fun! We did!


Getting ready to have a throwing competition!

And they are off!


Paper airplanes are super simple and my children really seem to enjoy them. I am so glad I made a tutorial because this plane is so easy to fly. I hope you enjoy it!
 

Site design by Fabulous K Creative | Powered by Blogger